
Building Enterprise Grade Files Shares in Azure
Creating Capacity Pools & Volumes in Azure NetApp Files
This weeks post is going to be covering the creation of Azure NetApp Files (ANF) capacity pools and volumes. I’ll assume that you’ve already registered the resource provider and created your ANF account. If not, you might want to have a read of this post Getting Started with Azure NetApp Files.
Storage Concepts
Understanding the storage hierarchy in Azure NetApp Files is important as it will allow you to choose the correct storage to meet your demands. Within your subscription you create you ANF account(s). Within your ANF account(s) your create your capacity pools and your volumes.
Capacity pools – There are three service levels (SKU’s) available in ANF, Standard, Premium and Ultra, these are set at the capacity pool level, with each delivering different throughput. For more information on those performance tiers please have a look at the Microsoft docs page here. The important thing to understand is that ANF is billed on capacity pool size, so once you have built your first capacity pool, you will start to be charged Azure consumption. Currently, the minimum capacity pool size is 4 TiB, capacity pools can be expanded in 1 TiB increments. Once you have created your capacity pool(s), you can then build your volumes.
Volumes – You create your ANF volumes within your capacity pools. Volumes can be created using NFS or SMB protocols and use the capacity available within the pool. You can also create dual-protocol volumes with support for LDAP user mapping. Once your volumes have been created you use the mount paths supplied to connect them to your hosts.
To allow you to understand the ANF storage hierarchy I have included a diagram below.
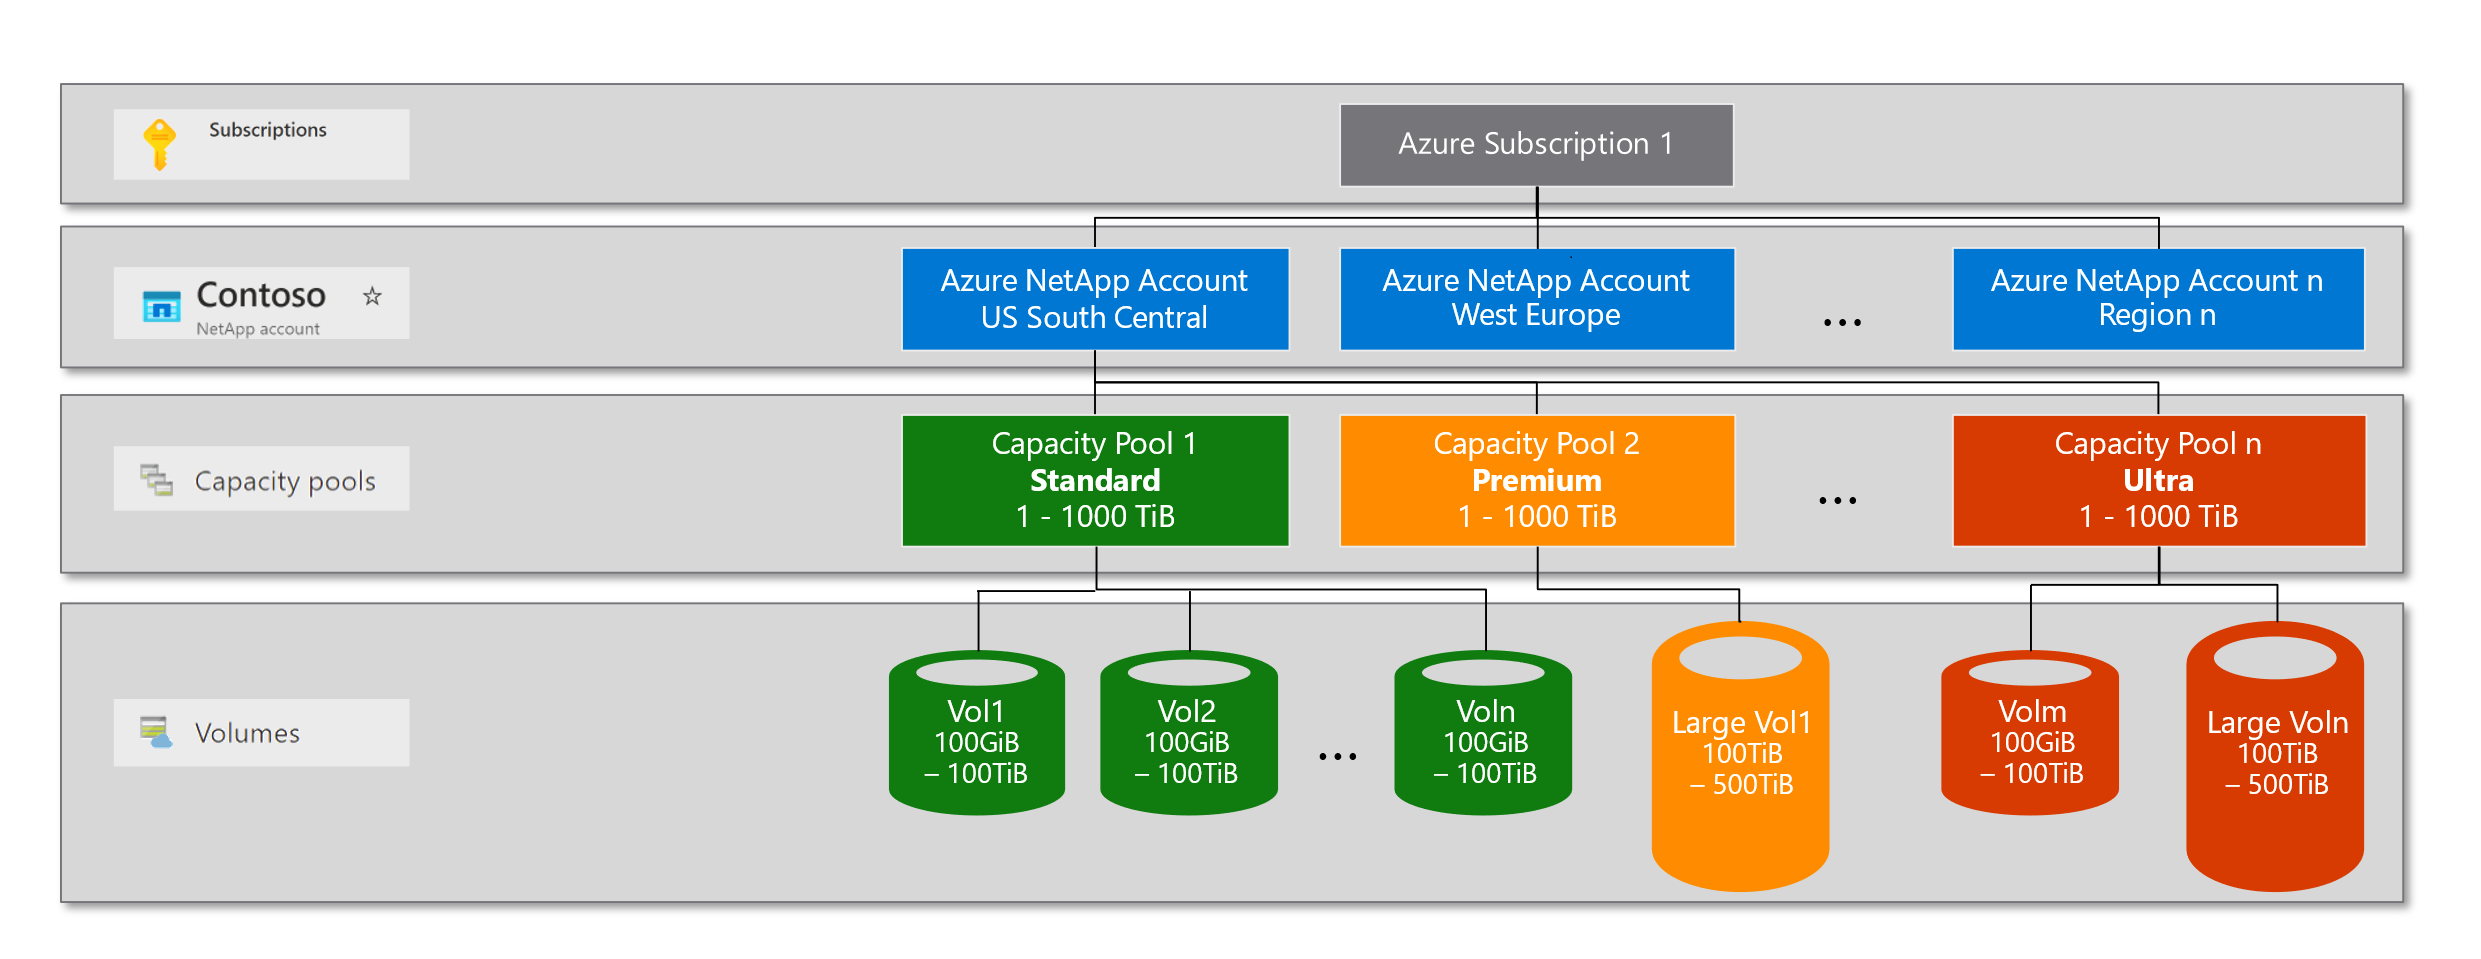
Source: Microsoft
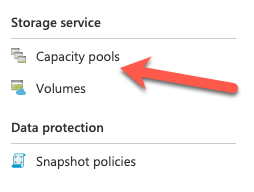
Creating a Capacity Pool
You can use various methods to create capacity pools or volumes, for the purpose of this article we will be using the Azure portal.
- To create a capacity, open up the Azure portal and browse to the ANF blade, select Capacity pools
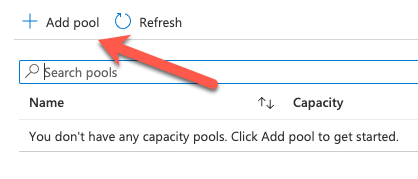
2. In the Capacity pool blade click Add pool
3. In the New capacity pool blade configure Name, choose service level and the size of the pool and set the QoS to either Manual or Auto. Once done, click Create
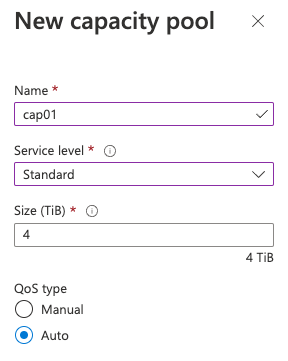
4. You have now built a capacity pool

Creating a Volume
- As mentioned earlier in this article, you can create a volume using either NFS, SMB or a dual-protocol volume. For this exercise we are going to creating a volume using the NFS protocol.
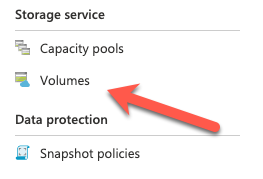
To create a volume, open up the Azure portal and browse to the ANF blade, select Volumes
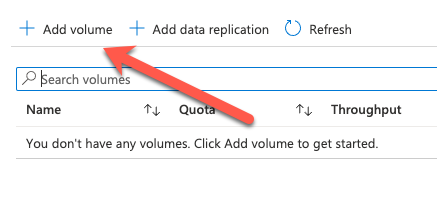
2. In the Volume blade click Add Volume
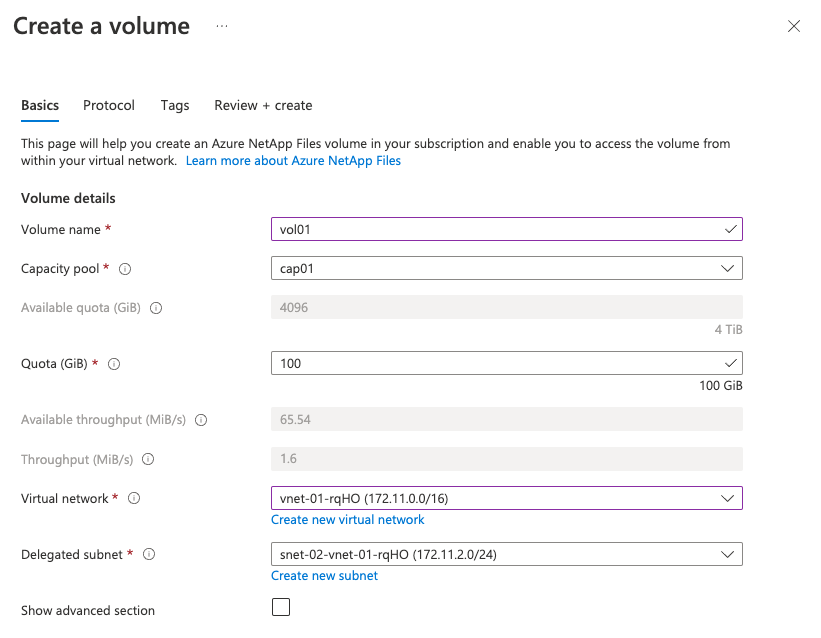
3. Complete the basic settings, Volume name, select capacity pool, set the volume Quota and choose the VNet and Delegated subnet.
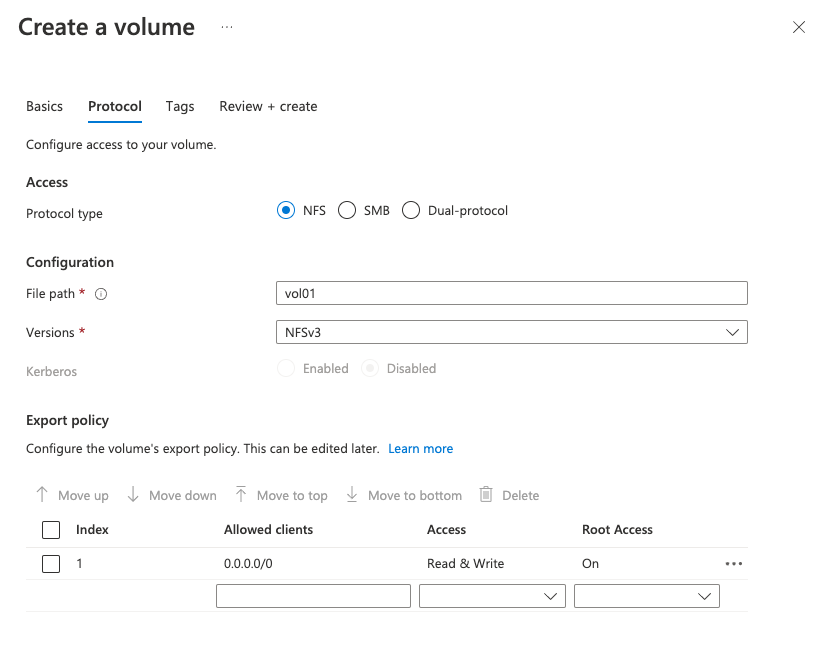
4. On the next tab select the protocol you want to use, for the purpose of this article we will choose NFS. Set the name of the File path, the version of the protocol you want to use and set your export policy.
5. Next, set your resource tags, remember to always set tags as these will prove to be very useful down the line, e.g extrapolating billing information.

6. Once completed click Create
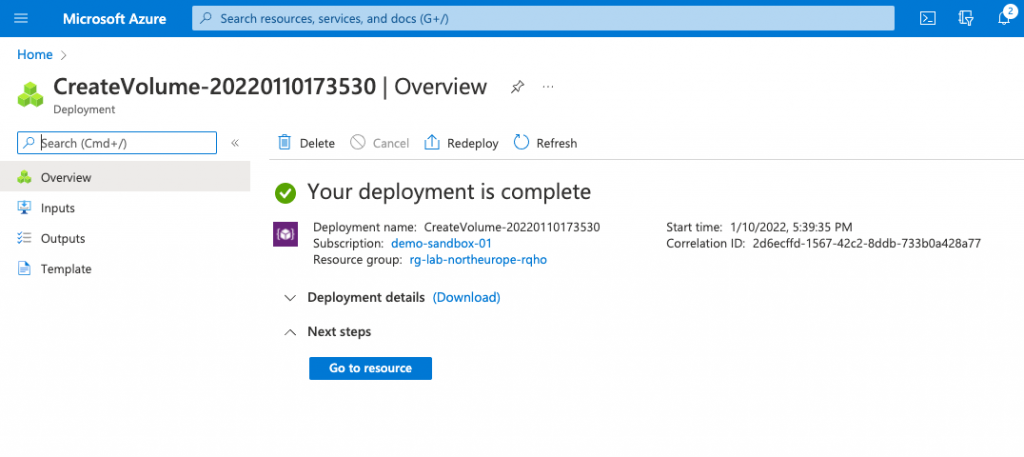
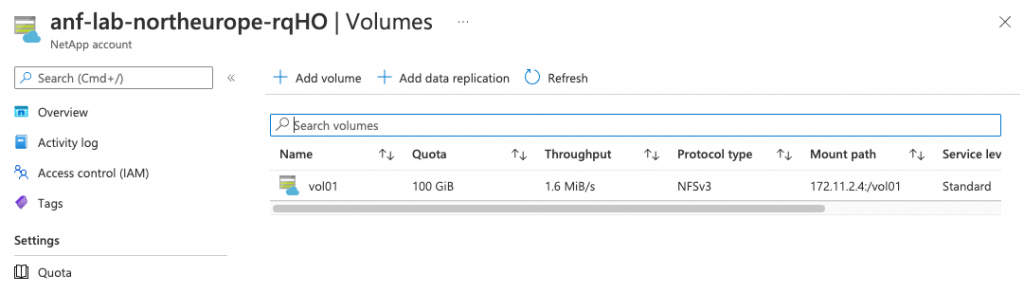
7. After a few minutes your volume will have been created.
Summary
I hope that the sections above have shown you how easy it is to create Capacity Pools and Volumes in Azure NetApp Files and how simplistic the service. This is were I feel the brilliance of ANF lies in its simplicity and how easy it is to create and deploy resources. The ANF service is constantly being updated and improved by Microsoft, to see whats new with ANF check the link here. If you would like to learn more about Azure NetApp Files, check out the Microsoft docs pages here. To start mounting your enterprise grade file shares check out the next article in this series here.