
ANF Snapshot Policy
Following on from my last post about On-Demand Snapshots in ANF, in this post we are going to talk about Snapshot Policy in Azure NetApp Files. I’ll assume that you’ve already created your Azure NetApp Files (ANF) Capacity Pools and Volumes and mounted them on your hosts. If not, you might want to have a read of this post Building Enterprise Grade Files Shares in Azure and this post Mounting your Azure NetApp Files Volumes.
ANF Snapshot Policy
As mentioned in my previous article, On-Demand Snapshots, snapshots in ANF are point-in-time copies of a volume. They work great as online copies that can be used to revert a volume, restore a file or create a new volume from each snapshot. The underlying technology of ANF means that the snapshots are lightweight and use pointers to the blocks of data on the disk. This makes ANF snapshots extremely efficient and they can be captured almost immediately.
Using Snapshot policies you can automate the create of snapshots by creating and linking policies to a schedule. The snapshot policy schedule can be configured to create snapshots at hourly, daily, weekly or monthly intervals. These policies can also be modified to suit your needs and removed once they are no longer required. The ANF service is a resource manager service and has REST API access. For the purposes of this article we will be using the Azure portal but you can also using IaC methods such as Terraform, ARM or REST API.
Configuring Snapshot Policy
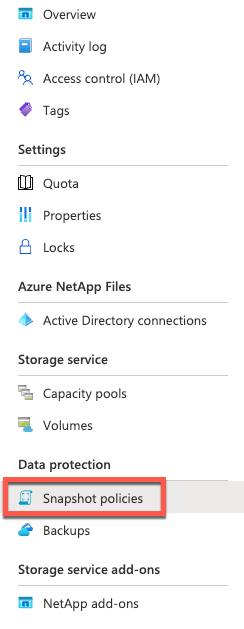
To create your first snapshot policy, open the Azure portal and browse to the ANF blade.
- Select the ANF account that you want to work with and choose Snapshot policies
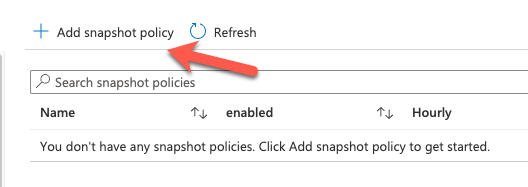
2. Select Add snapshot policy
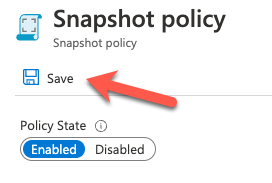
3. In the configure Snapshot policy section, you can Enable or Disable the policy.
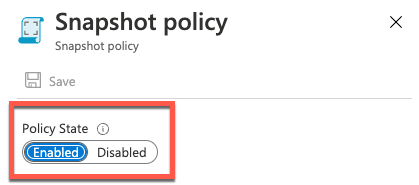
4. Give the Snapshot policy a Name

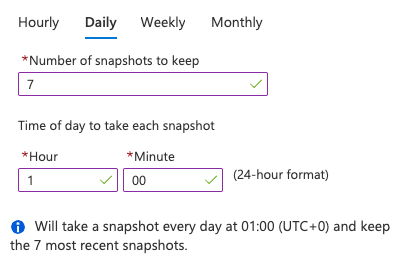
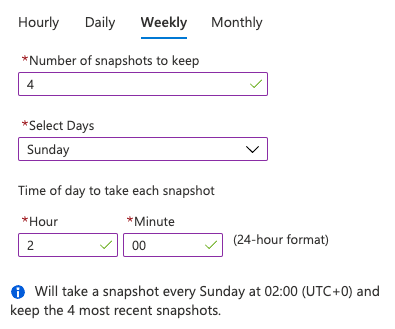
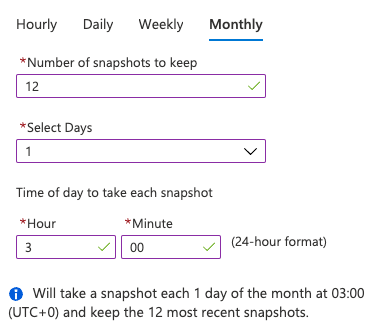
5. Choose the Hourly, Daily, Weekly or Monthly tabs and set the timing and number of snapshots to retain as required. The images below show examples of the following:
- Hourly snapshots captured on the hour (00) and a retention of 24 snapshots.
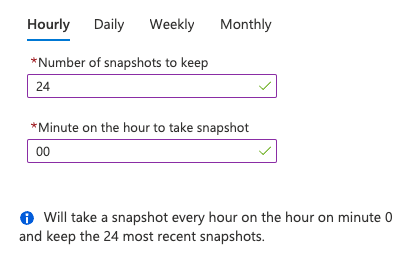
- Daily snapshots captured at 1am and a retention of 7 snapshots
- Weekly snapshots captured on Sunday at 2am and a retention of 4 snapshots
- Monthly snapshots captured on the 1st of the month at 3am with a 12 snapshot retention
6. Once you have finished configuring your Snapshot policy click Save
Attach a Snapshot policy to a volume
Now that you have your Snapshot policy created you can assign it to your volume(s). Please note that you cannot apply a snapshot policy to a cross-region replication (CRR) destination volume.
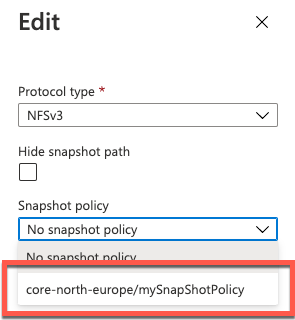
1. To apply a snapshot policy to a volume, browse to the ANF blade and select your volume and right click to see to context menu and choose Edit

2. Within the Edit section, under Snapshot policy, choose the policy that you just created and click OK.
Attach a snapshot policy during volume creation
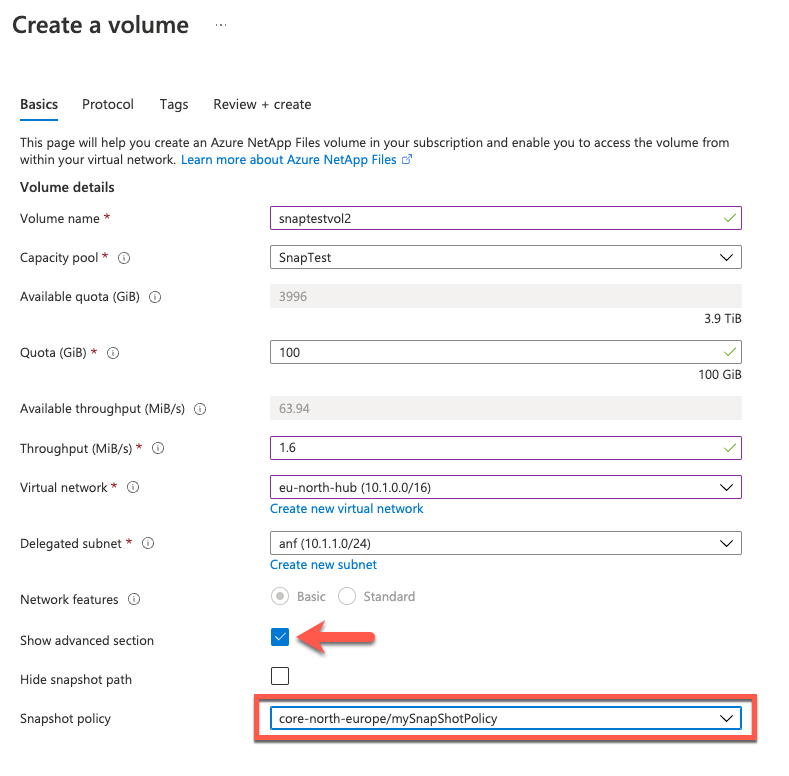
You can also attach a Snapshot policy to a volume during the creation process.
1. When creating a new volume, on the Basics page near the bottom, tick the Show advanced section. In the snapshot policy box, select the snapshot policy that you want to assign to this volume.
Summary
This weeks post was a follow-on from last weeks about Snapshots and how simple they are to work with in ANF. Being able to implement a schedule to capture those snapshots is another fantastic example of how ANF as a service has matured over time since it became generally available back in 2019. The snapshot policy feature makes it extremely easy to capture scheduled point-in-time copies which can be used to revert a volume in case of disaster or ransomeware attacks. This feature makes it extremely easy to respond to business needs but still maintains its simplicity. The ANF service is constantly being updated and improved by Microsoft, to see whats new with ANF check the link here. If you would like to learn more about Azure NetApp Files, check out the Microsoft docs pages here.