Using Terraform to create Azure Keyvault
In my last post we talked about using Terraform to create Networking in Azure. As part of that post we created an Azure VNets, Subnets and NSGs. If you missed that, you can review it here.
In this article we are going to build out an Azure Keyvault and Secret, these will be used to generate the username and passwords for when we create our Virtual Machines or indeed any other services.
Hopefully you’ll have a code editor and Terraform installed on your system. If not, to get them installed, whiz on over to this article here.
What are we building today?
In this article we are going to create the following resources in Azure using Terraform:
- 1 x Resource Group
- 1 x Keyvault
- 1 x Secret
The Terraform code used for this lab can be found in my GitHub here. The files in the repo are used to do the following:
- main.tf – Used to specify providers and create the resource groups
- variables.tf – Used to define variables for this deployment. They are defaults and referenced using the terraform.tfvars file.
- terraform.tfvars – This is file the only file you’ll need to edit amend parameters for your deployment.
- output.tf – This file will be used will be used to capture the randomly generated name of the Resource Group for future deployments that need to reference the name of this resource group.
- keyvault.tf – This file will be used to create the Azure Keyvault and Secret. These will be used in future deployments to specify the username and password for Virtual Machines.
Let’s create the Azure Keyvault and Secret
1. First up, let’s create a resource group using the main.tf file. The code below will be used to set the Terraform provider and create a resource group in Azure. It will also add resource tags to the resource group.
terraform {
  required_providers {
    azurerm = {
      # Specify what version of the provider we are going to utilise.
      source        = "hashicorp/azurerm"
      version       = ">= 2.90.0"
    }
    random = {
      source        = "hashicorp/random"
      version       = "3.1.0"
    }
  }
}

provider "azurerm" {
  features {}
}

# Create random string - This will create a random character string to be used for naming of resources
resource "random_string" "rg_random_1" {
  length  = 4
  special = false
}

# Create Resource Group 1
resource "azurerm_resource_group" "rg_1" {
  name     =  "${var.rg_name_1}-${var.region_1}-${random_string.rg_random_1.result}"
  location = var.region_1
  tags = {
    Environment = var.tag_environment
    CreatedBy   = var.tag_createdby
    CreatedWith = var.tag_createdwith
  }
}
2. Next, we are going to deploy an Azure Keyvault, the keyvault.tf file is used to complete this task. The code below shows how we create the keyvault and set access permissions. It also includes resources tags, remember, always use resource tags!!
# Create Keyvault ID
resource "random_id" "keyvault_name" {
  byte_length = "3"
  prefix      = "keyvault-${var.prefix}-"
}

# Create Keyvault
data "azurerm_client_config" "current" {}
resource "azurerm_key_vault" "keyvault" {
  depends_on                  = [azurerm_resource_group.rg_1]
  name                        = random_id.keyvault_name.hex
  location                    = azurerm_resource_group.rg_1.location
  resource_group_name         = azurerm_resource_group.rg_1.name
  enabled_for_disk_encryption = true
  tenant_id                   = data.azurerm_client_config.current.tenant_id
  soft_delete_retention_days  = 7
  purge_protection_enabled    = false

  sku_name = "standard"

  access_policy {
    tenant_id = data.azurerm_client_config.current.tenant_id
    object_id = data.azurerm_client_config.current.object_id

    key_permissions = [
      "get",
    ]

    secret_permissions = [
      "get", "backup", "delete", "list", "purge", "recover", "restore", "set",
    ]

    storage_permissions = [
      "get",
    ]
  }
  tags = {
    Environment = var.tag_environment
    CreatedBy   = var.tag_createdby
    CreatedWith = var.tag_createdwith
    Project     = var.tag_project
  }

}
3. Next, we will create the Secret, again, as with the Keyvault, the keyvault.tf file will be used to create the secret. The secret and its value will be used as the username and password for the virtual machines in the future. We will also generate a random password of 20 characters to be used in the value of the secret.
# Create Random Password
resource "random_password" "admin_random_password" {
  length  = 20
  special = true
}

# Create Secret
resource "azurerm_key_vault_secret" "admin_secret" {
  name         = var.labadmin
  value        = random_password.admin_random_password.result
  key_vault_id = azurerm_key_vault.keyvault.id
  depends_on   = [azurerm_key_vault.keyvault]
}
Deploying the code
Once you have your files in your Terraform directory you can go ahead and deploy the code. To do this, open your editor of choice and browse to your Terraform directory.
1. In your Terraform directory, run the following command to initialise the Terraform deployment and download the required modules.
terraform init2. Next we need to create a Terraform plan. This is used to determine what is required to create the configuration you have specified in your Terraform directory. To do this, run the command below.
terraform plan -out main.tfplan3. Now that you have generated your Terraform deployment plan, we can push the Terraform code into Azure and create our resources. Run the command below to apply your code.
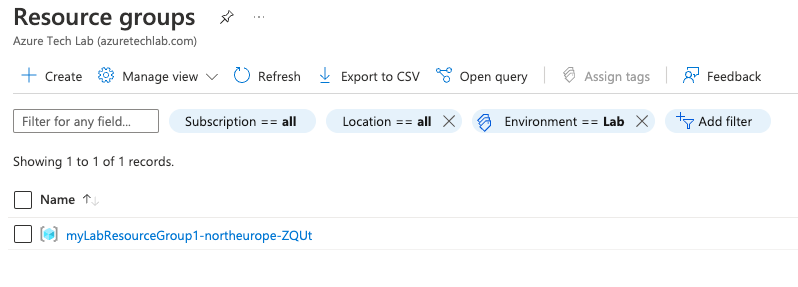
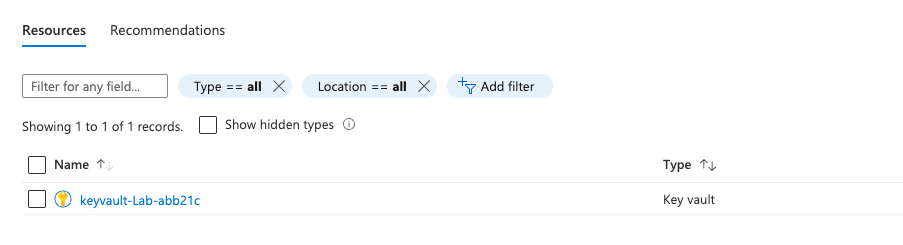
terraform apply main.tfplan4. That’s it, you have now deployed your resource group, keyvault and secret. If you have a look in the Azure portal you will see the resource group you created and within it the keyvault.
5. Now that you have successfully deployed your resources into Azure, once you have finished with them, it’s time to clean it up and remove your deployment. This is quite straightforward, simply run the command below. This will use the .tfstate file and destroy all resource that terraform built using the apply command previously.
terraform destroySummary
I hope that this very short blog post about creating Azure Keyvault using Terraform has been helpful? I think that the more you use this toolset to deploy infrastructure into Azure, the more you will appreciate its power and simplicity. In my next blog, we’ll build upon this one and add more services into the resource group. Next time, its building Azure Virtual Machines 😊